Sciatica and Yoga Practice
Sciatica is a painful irritation or compression of the sciatic nerve, the longest and largest nerve in the human body. There’s one sciatic nerve in each leg. Their origin is in the lower back and sacrum and the nerve travels down the back of the thigh, splits into two at the knee and then travels on to the foot.
In the majority of cases, Sciatica is caused by a herniated disc in the lower back. It presents as painful, tingling, weak or numb sensations along the route of the nerve.
If you are experiencing Sciatica, there are likely to be some poses that soothe the pain and others that aggrevate it.
Sciatica can last anywhere between a few weeks to a year, and manifest in many everyday activities. Gentle movement and a mindful, enquiring approach to yoga practice can be very helpful.
Please remember, you should always consult your doctor about any health concerns and follow their advice about exercise and movement. Your yoga teacher cannot diagnose conditions or prescribe treatment.
A gentle practice to help soothe sciatic pain
This gentle sequence will help you to mobilise your lower back and hips, and stretch the back of the body. Breathe your way into all the poses. If you feel your symptoms worsening at any time, release out of the pose and allow these feelings to subside.
1. Start lying down on your back in Constructive Rest pose. Bring your feet to rest on the mat about hip distance apart with your knees bent. Work with the natural curve of your spine and bring awareness to your hips and shoulders on the mat. Stay here for as long as you like, taking deep breaths in and out through your nose.
2. Draw your right knee into the body, and straighten your left leg along the mat with your toes pointing upwards. This is Half Knee to Chest Pose and stretches the gluteal muscles and gently flexes the spine.
Reclined Half Knee to Chest Pose
Stay for up to eight deep breaths then gently release and repeat on the other side.
3. Bring yourself back into Constructive Rest pose and bring your heels under your knees. Take your right ankle outside the left thigh, just above the knee for Reclined Figure Four pose. Optionally, lift your left foot off the mat, slide your right hand in between your thighs and interlace your fingers together. This pose also stretches into your gluteal muscles and gently flexes the spine.
Reclined Figure Four Pose Variation
Stay for up to eight deep breaths then gently release and repeat on the other side.
4. Return to Constructive Rest for a few breaths and then set up for Bridge Pose. Bring your heels under your knees. Lift up your hips and spine on an inhale. Hold for five deep breaths and then release your spine and hips back to the mat on an exhale. You can repeat up to two more times. Contracting the gluteal muscles can increase your painful symptoms so be mindful as you practice Bridge. You can do Bridge without contracting the glutes so work mindfully to find what works for you.
Bridge Pose
5. After Bridge Pose, stay in Constructive Rest for a few deep breaths. Then walk your feet to the edges of the mat and let your knees drop in towards each other. This rotates the legs inward at the hip joint. Stay here for eight or more breaths before walking the feet back into Constructive Rest.
Constructive Rest Variation with Internal Rotation
6. Finish your reclined sequence with a few Windscreen Wipers, gently letting the knees go to one side and then the other. When you are ready, carefully move over to the front of the body.
Stay for a few breaths in Reverse Corpse pose, resting your forehead or chin on your hands.
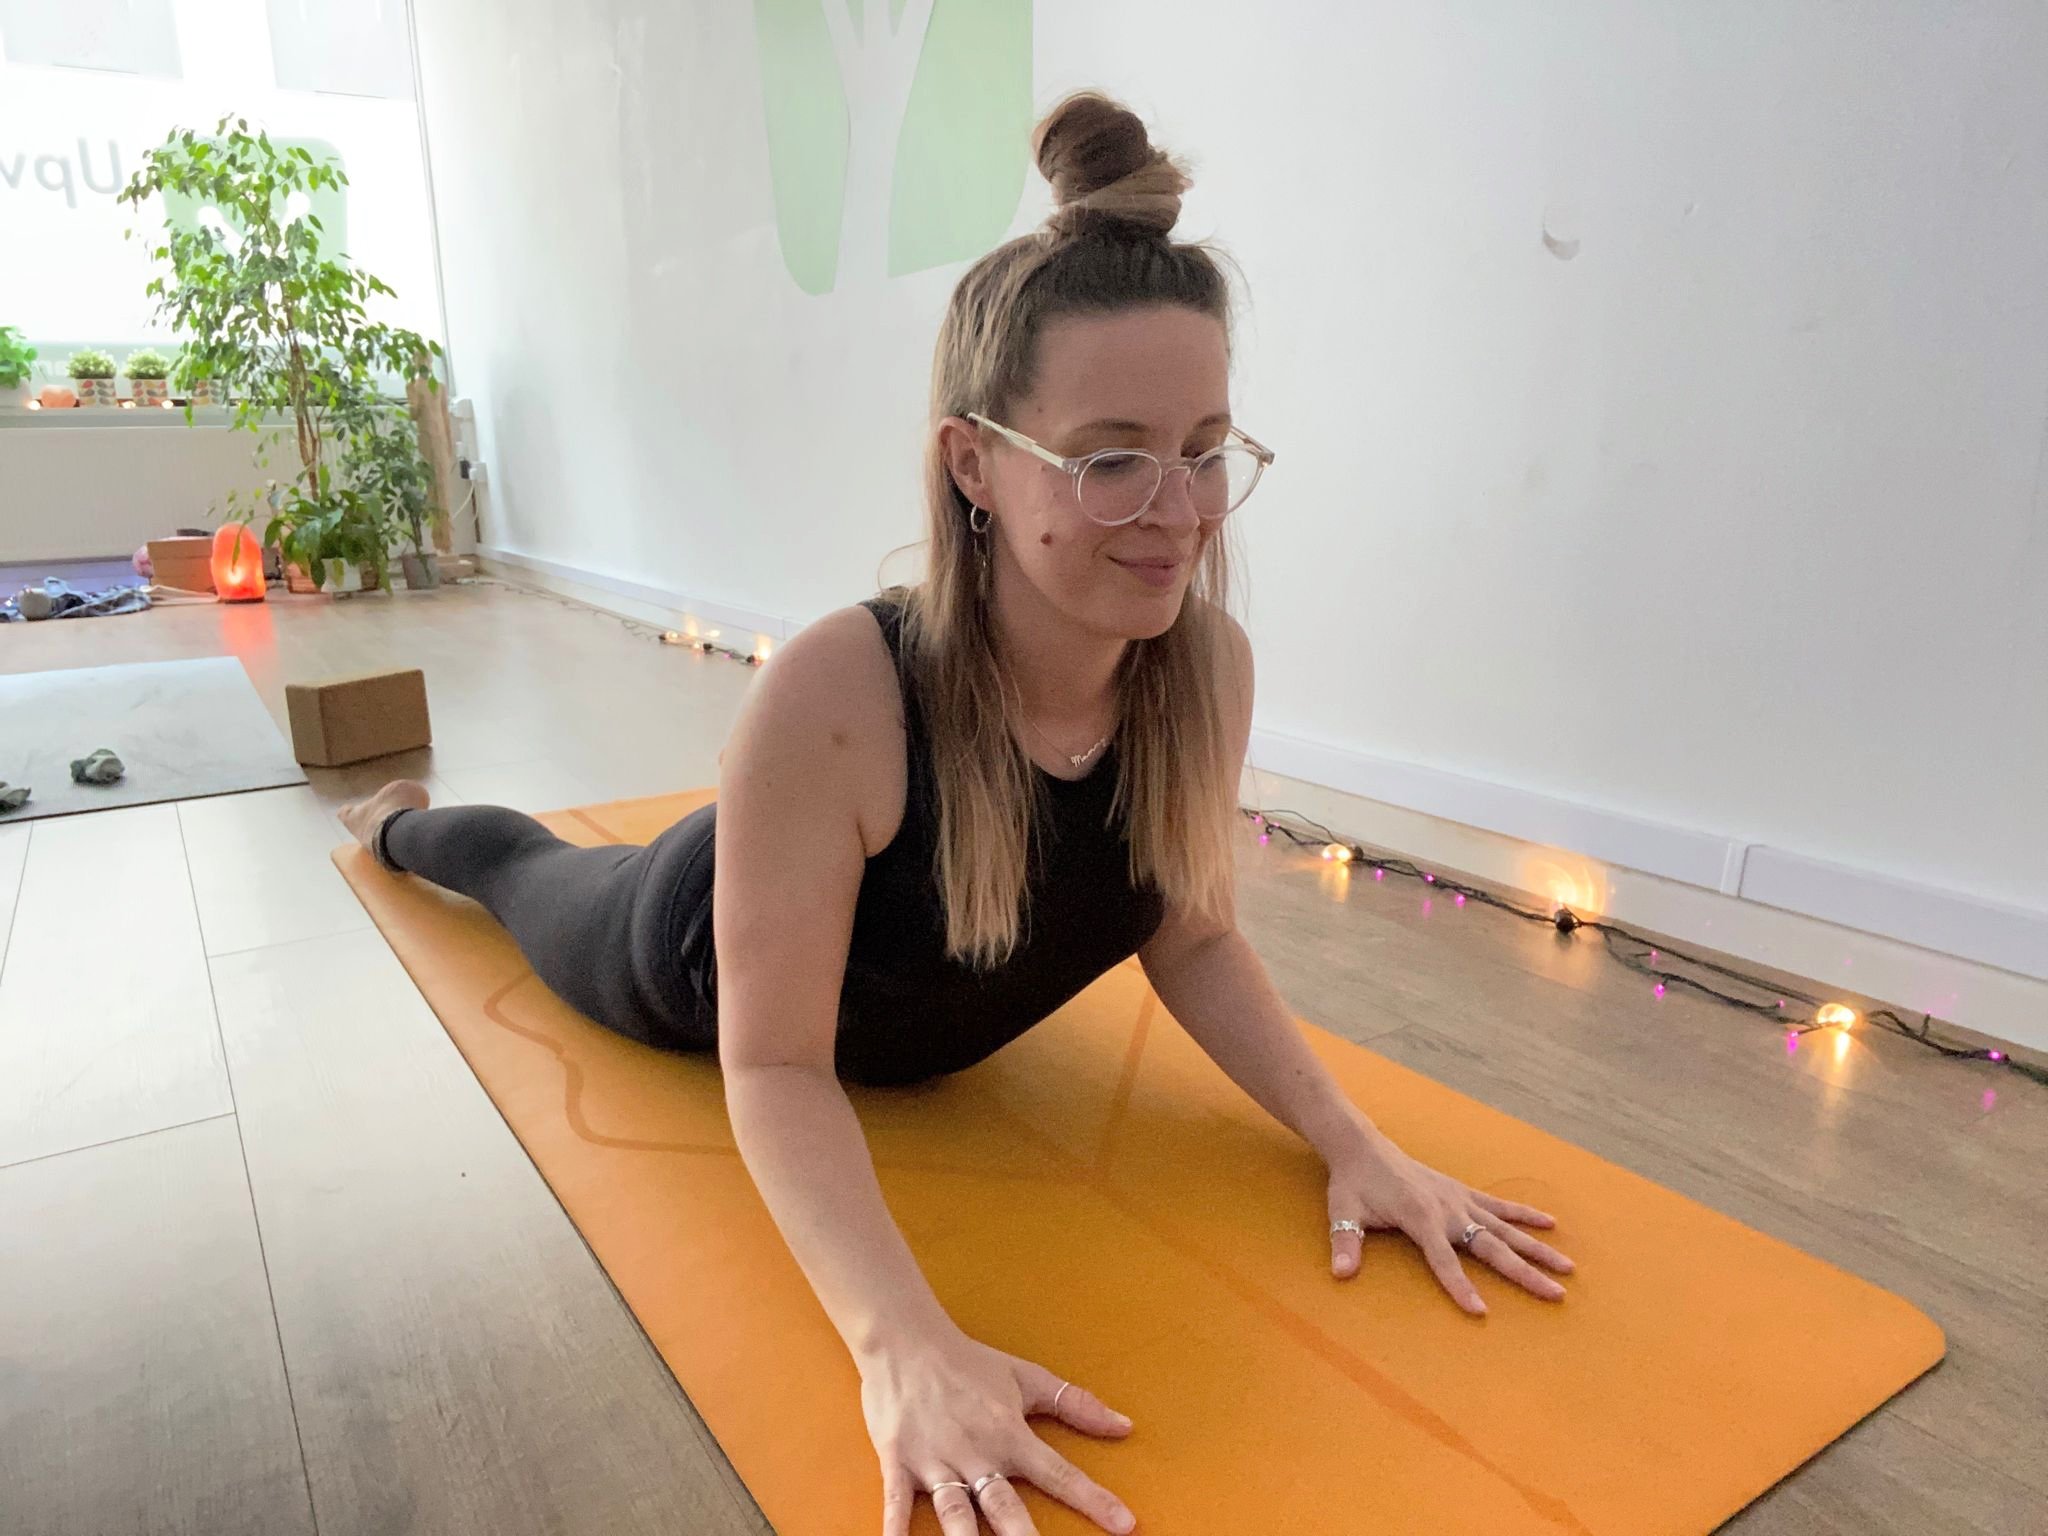
7. Bring your feet hip distance apart and point your toes backwards. Bring yourself up onto your forearms for Sphinx Pose. Have your elbows under, or a little forward of, your elbows. Gaze down towards the top of your mat. Stay for five deep breaths and carefully release on an exhale back into Reverse Corpse pose.
Sphinx Pose
Sphinx Pose is a backbend and extends your spine. Together with the next pose, these backbends counter the frequent rounding movements that we often ask from our spine.
8. You can repeat Sphinx for a second time or take Cobra Pose instead. For Cobra, bring your hands down to chest height and your elbows in towards the body. Push down into your feet and lift your chest away from the mat, keeping your elbows bent. Stay for up to five breaths then release back down to the mat into Reverse Corpse pose.
Cobra Pose
Stay for as many breaths as you like in Reverse Corpse pose then carefully make your way up from the mat and into a seated position with a long spine and notice how you feel.
Enjoy your practice. Let us know how you get on, and if you have any questions.


